Raspberry Pi cloud server
2023-05-02
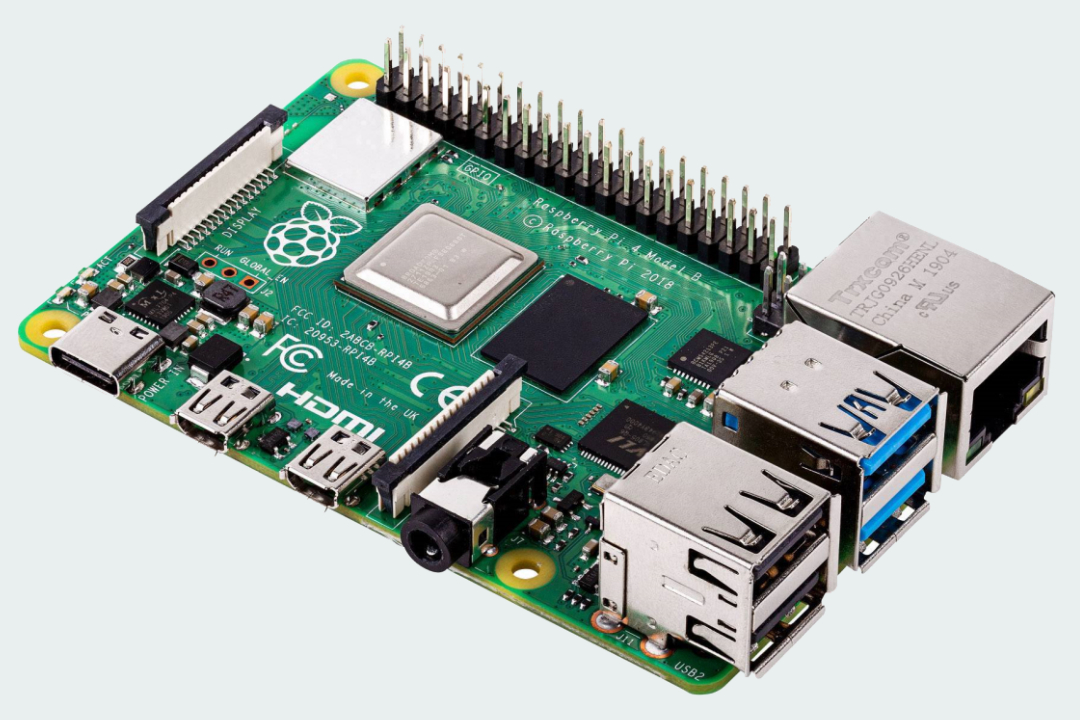
The setup process was fairly easy. I recommend following a proper guide if you would like to set up a server like this. Firstly, I acquired a Raspberry Pi (which was harder than I expected because of the chip shortage). Then, I installed Raspberry Pi OS on it and set up SSH for remote access. For the server, I installed Apache and PHP first, then proceeded to set up a MySQL database and a user for Nextcloud.
After everything was prepared, I downloaded Nextcloud into the HTML directory and configured Apache so that Nextcloud is accessible over the desired subdomain. Opening the page from the browser, I was greeted with the initial setup of Nextcloud. Eventually the cloud was ready to use.
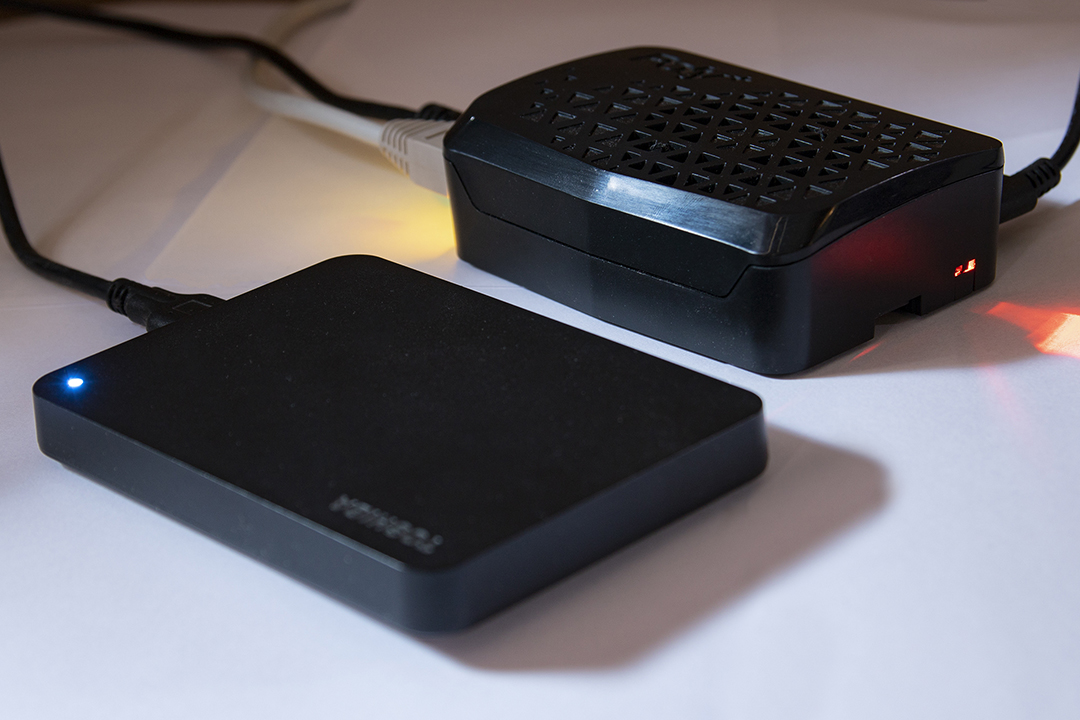
After the setup was complete, I first mounted my external hard drive to the Pi and then moved the Nextcloud data folder onto it. With the ports for HTTP and HTTPS (80 and 443) port-forwarded on my router, the server was now accessible through my public IP. To set up SSL, I needed a domain first. As I did not want to spend any more on this project, I chose to use a free Dynamic DNS service. I acquired a domain name at duckdns.org and pointed it at my public IP address.
To make it dynamic (which means that if my ISP changes my public IP, the domain name will point to the new IP address), I added a cron job for it on my Pi and added the domain to the Nextcloud config file as a trusted domain. To set up SSL, I installed Certbot and then proceeded to obtain a certificate from Let's Encrypt. After following the setup process with some small tweaks, everything was finally ready.
 projects_rpi.jpg projects_rpi.jpg
|
 nextcloud_rpi.jpg nextcloud_rpi.jpg
|


